
Honeywell TH6220WF2006 Installation Manual: A Comprehensive Guide
Welcome to the comprehensive guide for installing your Honeywell TH6220WF2006 T6 Pro Smart Thermostat! This manual provides step-by-step instructions, troubleshooting tips, and essential information for a smooth installation process. Follow along to ensure optimal performance and connectivity for your new thermostat.
Overview of the Honeywell TH6220WF2006 T6 Pro Smart Thermostat
The Honeywell TH6220WF2006, also known as the T6 Pro Smart Thermostat, is a versatile and user-friendly device designed for efficient home climate control. This thermostat supports both conventional (up to 2 heat/2 cool) and heat pump systems (up to 3 heat/2 cool), offering broad compatibility for various HVAC setups. Its key features include Wi-Fi connectivity, allowing remote control and monitoring via the Honeywell Home/Resideo app.
The T6 Pro boasts a clear, easy-to-read display and simple interface for intuitive operation. It’s programmable, enabling users to create custom schedules to optimize energy consumption and maintain comfortable temperatures. Installation is streamlined with the UWP mounting system, and the included mounting plate can cover existing paint gaps or electrical junction boxes.
Furthermore, the thermostat offers installer setup options through both the thermostat interface and the mobile app, providing flexibility for configuration. With its robust functionality and smart features, the Honeywell TH6220WF2006 T6 Pro Smart Thermostat is an excellent choice for modern home climate management.
Package Contents and Included Hardware

Before commencing the installation of your Honeywell TH6220WF2006 T6 Pro Smart Thermostat, it is crucial to verify that all the necessary components are present within the package. Typically, the package includes the T6 Pro Smart Thermostat itself, which serves as the primary control unit for your home’s heating and cooling system. Alongside the thermostat, you should find the UWP mounting system, designed for easy and secure attachment to the wall.
Essential mounting hardware is also provided, consisting of screws and wall anchors to ensure a stable installation. A quick start guide is included to offer a concise overview of the installation process and basic operation. Furthermore, you may find an optional cover plate, useful for concealing any existing paint gaps or for mounting the thermostat onto an electrical junction box.
It’s recommended to carefully unpack all items and compare them against the contents list in the quick start guide to ensure nothing is missing. If any components are absent, contact Honeywell customer support for assistance.
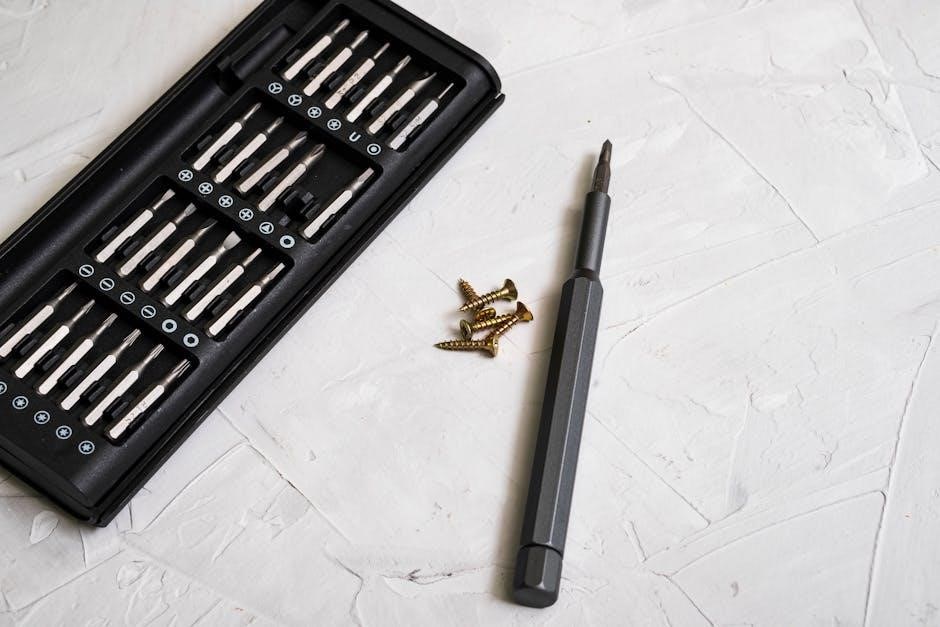
Tools Required for Installation
To ensure a smooth and efficient installation of your Honeywell TH6220WF2006 T6 Pro Smart Thermostat, gathering the necessary tools beforehand is essential. A Phillips head screwdriver is a must-have for securing screws during the mounting process and for connecting wires to the thermostat’s terminals. A small flathead screwdriver may also be useful for tightening terminal screws.
Wire strippers are crucial for safely removing the insulation from the ends of the wires, ensuring a clean connection to the thermostat. A pair of pliers can assist with bending or straightening wires as needed. A level is vital for ensuring the thermostat is mounted straight on the wall, enhancing its appearance and functionality.
Additionally, a drill with appropriate drill bits may be required if you need to create new mounting holes in the wall. A voltage tester is highly recommended to verify that the power to the thermostat wiring is turned off before you begin working. Finally, a flashlight can be helpful for illuminating the wiring area, especially in dimly lit spaces.
Wiring Diagram and Terminal Designations
Understanding the wiring diagram and terminal designations for your Honeywell TH6220WF2006 T6 Pro Smart Thermostat is crucial for a successful installation. The wiring diagram provides a visual representation of how the thermostat connects to your HVAC system, including heating, cooling, and fan components. Carefully review the diagram to identify the correct terminals for each wire.
Common terminal designations include R (power), C (common), W (heat), Y (cool), G (fan), and potentially others depending on your system’s configuration, such as auxiliary heat or heat pump connections. It’s important to note that the exact terminal designations may vary depending on your specific HVAC system.

Before disconnecting any wires from your old thermostat, take clear pictures of the existing wiring configuration. This will serve as a valuable reference during the installation process. When connecting wires to the new thermostat, ensure they are securely fastened to the correct terminals according to the wiring diagram. Incorrect wiring can lead to improper operation or damage to your HVAC system.
Step-by-Step Installation Instructions
Follow these step-by-step instructions to install your Honeywell TH6220WF2006 T6 Pro Smart Thermostat. First, turn off the power to your HVAC system at the circuit breaker to ensure safety. Remove your old thermostat from the wall plate, carefully disconnecting the wires. Take a picture of the existing wiring for reference.
Next, install the UWP mounting plate included with your new thermostat. Use the provided screws to securely attach the plate to the wall. Refer to the wiring diagram to connect the wires from your HVAC system to the corresponding terminals on the thermostat base. Double-check all connections to ensure they are secure.
Once the wiring is complete, attach the thermostat to the UWP mounting plate. Insert AA batteries for primary or backup power; Turn the power back on at the circuit breaker. The thermostat will power up and guide you through the initial setup process. Follow the on-screen prompts to configure your thermostat settings, including date, time, and system type. Now you have completed the physical installation!
UWP Mounting System Installation
The Honeywell TH6220WF2006 T6 Pro Smart Thermostat utilizes the UWP (Universal Wall Plate) mounting system for easy and secure installation. This system simplifies the mounting process, allowing for a straightforward replacement of existing thermostats. Begin by positioning the UWP on the wall where you intend to install the thermostat. Ensure the location is clean and free of debris.
Use a level to verify that the UWP is perfectly horizontal before securing it to the wall. Mark the screw locations through the UWP’s mounting holes. Pre-drill pilot holes if necessary, especially when mounting on hard surfaces like plaster or wood. Align the UWP with the pilot holes and use the provided screws to firmly attach it to the wall. Make sure the UWP is flush against the wall for a secure fit.
With the UWP securely mounted, you can now proceed with connecting the wiring to the thermostat base. The UWP provides a stable platform for attaching the thermostat and ensures proper alignment for optimal performance. This mounting system contributes to a professional and reliable installation of your smart thermostat.
Connecting to WiFi Network
Connecting your Honeywell TH6220WF2006 T6 Pro Smart Thermostat to your WiFi network is essential for remote access and smart features. After the physical installation is complete, power on the thermostat. On the thermostat display, navigate to the WiFi setup option. The thermostat will then search for available WiFi networks in your home.

Select your home WiFi network from the list. You will be prompted to enter your WiFi password. Ensure you enter the password correctly, paying attention to case sensitivity. Once the password is entered, the thermostat will attempt to connect to your WiFi network. A successful connection will be indicated on the thermostat display.
If the connection fails, double-check the WiFi password and ensure your router is functioning correctly. You may also need to move the thermostat closer to the router for a stronger signal during the initial setup. After successfully connecting to WiFi, you can control your thermostat remotely through the Honeywell Home/Resideo app.
Installer Setup via Thermostat Interface
After successfully mounting the Honeywell TH6220WF2006 and powering it on, the installer setup via the thermostat interface is the next crucial step. Upon the initial power-up, the thermostat display will prompt you to initiate the setup process. Select the option to begin the installer setup directly on the thermostat.
The thermostat will guide you through a series of configuration options. This includes setting the date and time, configuring the system type (heat pump or conventional), and defining the number of heating and cooling stages. Carefully input these settings to match your HVAC system’s specifications; Incorrect settings can lead to inefficient operation or damage to your equipment.
Pay close attention to the wiring configuration during this process. The thermostat will ask you to identify which wires are connected to specific terminals. Verify these connections against your wiring diagram. After completing these steps, the thermostat will be configured for basic operation, and you can proceed with connecting to WiFi for advanced features.
Setup Using the Honeywell Home/Resideo App
The Honeywell Home or Resideo app offers a convenient and advanced method to configure your TH6220WF2006 thermostat. Begin by downloading the app from either the App Store (iOS) or Google Play Store (Android). Once installed, create an account or log in if you already have one. The app will guide you through adding your new thermostat.
Select the option to add a new device and follow the on-screen prompts to connect your thermostat to your home’s WiFi network. The app will search for available networks, and you’ll need to enter your WiFi password. Ensure that your thermostat is within range of your WiFi router for a stable connection;
The app provides advanced features like scheduling, remote control, and energy usage monitoring. You can also personalize your thermostat settings and integrate it with other smart home devices. Furthermore, it allows you to invite other users to control the thermostat, ensuring seamless management for your entire household. This method streamlines setup and offers enhanced control.
Troubleshooting Common Installation Issues
Encountering issues during the installation of your Honeywell TH6220WF2006 is not uncommon. One frequent problem is the thermostat displaying “Cannot Connect, No Internet Access.” Ensure your WiFi network is functioning correctly and that the thermostat is within range; Restart your router and thermostat to refresh the connection. Double-check the WiFi password entered during setup.
Another common issue is a blank thermostat screen. Verify the circuit breaker or fuse is not tripped or blown. Confirm that the wiring is correctly connected according to the wiring diagram. Ensure the thermostat has sufficient power, either through the C-wire or batteries.
If the thermostat is not responding to temperature adjustments, check the system mode settings. Make sure it is set to Heat or Cool as needed. Verify that the setpoint temperature is within a reasonable range. If issues persist, consult the comprehensive troubleshooting section in the user manual or contact Honeywell support for assistance. Accurate wiring and stable power are crucial for resolving most problems.
Key Features and Functionality
The Honeywell TH6220WF2006 T6 Pro Smart Thermostat boasts a range of features designed for convenience and energy efficiency. Its smart capabilities allow for remote control via the Honeywell Home/Resideo app, enabling users to adjust temperature settings from anywhere. The thermostat supports programmable scheduling, optimizing heating and cooling based on your daily routine, ultimately reducing energy consumption.
It is compatible with both conventional and heat pump systems, offering versatility for various HVAC setups. The intuitive touchscreen interface simplifies operation, providing easy access to settings and information. The thermostat also features smart alerts and notifications, keeping you informed about system performance and potential issues.
The T6 Pro Smart Thermostat supports up to 2 Heat/2 Cool stages for conventional systems and up to 3 Heat/2 Cool for heat pump systems. With its adaptive intelligent recovery, the thermostat learns how long it takes your system to reach the desired temperature, ensuring comfort when you need it. Its WiFi connectivity allows for automatic software updates, ensuring the thermostat is always up-to-date with the latest features and improvements.
Using the Optional Cover Plate
The Honeywell TH6220WF2006 T6 Pro Smart Thermostat includes an optional cover plate, designed to enhance the aesthetic appeal of your installation and address specific mounting needs. This cover plate serves primarily to conceal any existing imperfections on the wall, such as paint gaps or marks left behind by a previous thermostat. It provides a clean, professional finish, ensuring the new thermostat seamlessly integrates with your home’s decor.
Furthermore, the cover plate is particularly useful when mounting the thermostat to an electrical junction box. It provides a secure and stable surface, ensuring the thermostat is properly aligned and flush against the wall. When using the cover plate, ensure it is securely attached to the wall using appropriate screws, providing a solid base for the thermostat’s UWP mounting system.
Installation is straightforward. First, position the cover plate over the desired area, aligning it to cover any imperfections or the electrical box. Then, use screws to firmly attach the cover plate to the wall; Finally, proceed with the standard thermostat installation, mounting the UWP bracket onto the cover plate. This simple addition can significantly improve the overall appearance of your thermostat installation.