
What You’ll Need
To properly mold your boil-and-bite mouthguard, you’ll need a few essential items. These include the mouthguard itself, a saucepan for heating water, and water to boil. You will also require a slotted spoon or tongs.
Mouthguard
The most important item is, of course, the mouthguard itself. Ensure it’s the correct size for your mouth, whether you’re an adult or a youth. There are different types available, including strapless and strapped versions, so choose one that suits your needs and sport. Many boil-and-bite mouthguards are thermoplastic, meaning they soften when heated, allowing you to mold them to your teeth for a custom fit. Always check the manufacturer’s instructions for recommended heating times, as these can vary between brands and models. Select a high-quality mouthguard that provides adequate protection and comfort during physical activities. Remember to inspect your mouthguard for any damage before each use.
Saucepan
A clean saucepan is essential for safely heating the water needed to soften the mouthguard. Choose a saucepan that is large enough to fully submerge the mouthguard in water. Ensure the saucepan is free from any residue or contaminants that could affect the mouthguard’s material. It’s best to use a stainless steel or enamel-coated saucepan to avoid any unwanted chemical reactions. The saucepan should be deep enough to hold at least 3-4 inches of water. Avoid using non-stick pans, as the coating could be damaged by the high heat. A small saucepan will be enough, provided it can hold enough water. Clean it thoroughly before use.
Water
You will need a sufficient amount of clean, potable water to submerge the mouthguard fully during the softening process. Typically, 3 to 4 inches of water in your saucepan is adequate. Ensure the water is free from any impurities or sediments that could potentially affect the mouthguard material. Tap water is generally suitable, but filtered water can also be used for added measure. The water’s purpose is to evenly distribute heat and soften the thermoplastic material of the mouthguard, making it pliable for molding. Be sure to have enough water, as too little could result in uneven softening. Avoid using distilled water for this process. Ensure the water is fresh.
Slotted Spoon or Tongs

A slotted spoon or a pair of tongs is crucial for safely handling the mouthguard during the boiling and cooling process. These utensils allow you to carefully remove the mouthguard from the hot water without risking burns or direct contact with the heated material. The slots or open design helps drain excess water quickly, preventing it from splashing and causing potential hazards. It is important to choose utensils made of heat-resistant materials to avoid melting or damage. Ensure they are clean and free from any residue that could contaminate the mouthguard. Using these tools ensures a safe and controlled transfer of the mouthguard between the boiling water and the cold water bowl.
Mirror
A mirror is an essential tool for accurately positioning the mouthguard in your mouth during the molding process. It allows you to visually align the mouthguard with your teeth and ensure it is centered correctly. This is particularly important for achieving a comfortable and effective fit that provides optimal protection. The mirror helps you see the alignment from different angles, ensuring that the mouthguard covers all necessary areas of your teeth and gums. Proper alignment is crucial for preventing discomfort and maximizing the mouthguard’s ability to absorb impact. Using a mirror contributes to a more precise and customized fit, enhancing its overall performance and comfort.
Bowl of Cold Water
A bowl of cold water is crucial for quickly cooling the softened mouthguard after it has been briefly submerged in hot water. This rapid cooling helps set the shape of the mouthguard, ensuring it retains the customized form you create by biting down. The cold water also prevents the mouthguard from overheating and potentially burning your mouth. Briefly submerging the mouthguard in cold water for a few seconds helps solidify the mold and makes it more comfortable to handle. This step is essential for finalizing the fit and ensuring the mouthguard maintains its protective shape during use. The quick temperature change stabilizes the material.
Timer or Clock
A timer or clock is an indispensable tool during the mouthguard molding process, ensuring precise timing for each step. Overheating the mouthguard can lead to deformation or damage, while insufficient heating may prevent proper molding. A timer helps you adhere to the manufacturer’s recommended heating time, typically ranging from a few seconds to a minute. Accurate timing is also crucial when cooling the mouthguard in cold water, preventing over-cooling and maintaining optimal pliability for molding. Using a timer ensures consistency and avoids guesswork, leading to a more comfortable and effective custom fit for your mouthguard, maximizing its protective capabilities.

Boiling the Mouthguard
The first crucial step involves preparing the mouthguard for molding by softening it in hot water. This process typically involves boiling water and carefully submerging the mouthguard for a specified time.
Fill Saucepan with Water
Begin the process by selecting a clean saucepan. The size of the saucepan should be appropriate to fully submerge your mouthguard. Fill the saucepan with enough water, typically 3 to 4 inches, ensuring the mouthguard can be completely immersed without touching the bottom of the pan. Using an adequate amount of water is essential for even heating. This step is crucial to guarantee the mouthguard softens uniformly and prevents any potential damage from direct contact with the hot pan surface. Proper water level ensures effective heat distribution for optimal molding.
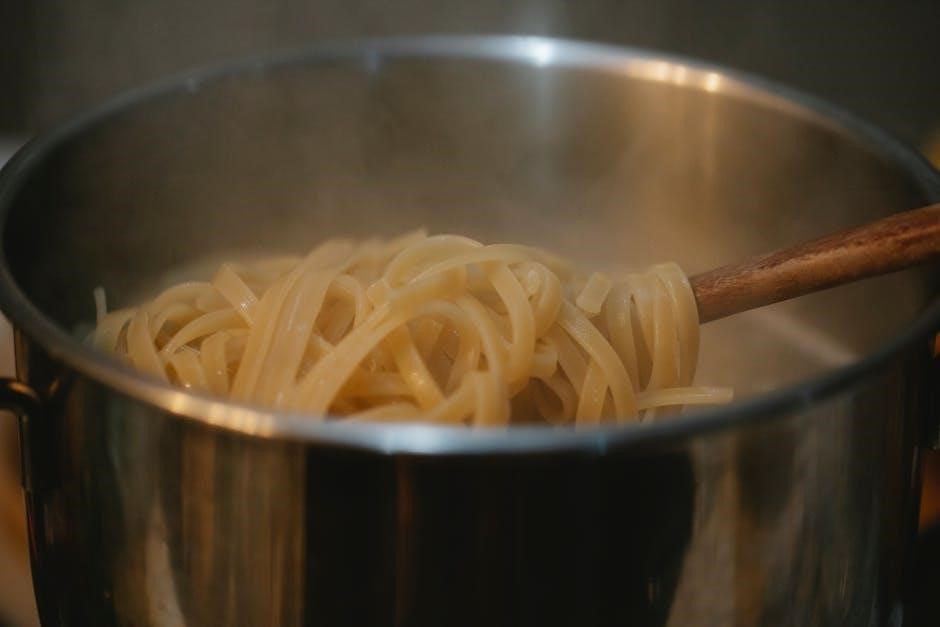
Bring Water to a Boil
After filling the saucepan with the appropriate amount of water, place it on a stovetop burner. Set the burner to high heat to bring the water to a rolling boil. A rolling boil is characterized by vigorous bubbling, indicating that the water has reached its maximum temperature. Monitor the water carefully to prevent it from boiling over. Once the water is at a rolling boil, proceed to the next step promptly. This ensures that the water temperature remains consistent for the subsequent softening of the mouthguard. Do not leave the boiling water unattended.
Remove from Heat and Let Stand
Once the water has reached a rolling boil, carefully remove the saucepan from the heat source. This step is crucial to prevent the mouthguard from overheating and potentially shrinking or deforming. Allow the water to stand for approximately 30 seconds before proceeding. This brief resting period allows the water temperature to decrease slightly, making it safer for the mouthguard. Leaving it in the boiling water can damage the material. Ensure the saucepan is placed on a heat-resistant surface to prevent any damage to your countertop. Continue to monitor the water temperature during this period.
Molding the Mouthguard
Now that the water is ready, carefully submerge the mouthguard. Then, remove it briefly to cool before positioning it in your mouth. Finally, bite down firmly to mold it to the shape of your teeth.
Submerge Mouthguard in Hot Water
Using your slotted spoon or tongs, carefully submerge the mouthguard into the hot water. Ensure it’s fully immersed, but be cautious not to let the sides fold and touch each other, as this can distort the shape. The submersion time is critical; adhere to the manufacturer’s instructions, typically ranging from 7 to 60 seconds, as timing varies between models.
For certain mouthguards, particularly those designed for braces, shortening the submersion time may be necessary. Monitor the mouthguard closely during submersion to prevent over-softening, which can compromise its protective capabilities. Once the recommended time has elapsed, promptly proceed to the next step.
Remove and Cool Briefly
Carefully remove the mouthguard from the hot water using your slotted spoon or tongs. Shake off any excess water to prevent burns and ensure a more comfortable molding process. Immediately after removal, briefly cool the mouthguard by placing it in a bowl of cold water for no more than two seconds, or as specified by the manufacturer’s instructions.
This brief cooling period helps to bring the mouthguard to a temperature that is safe and manageable for insertion into your mouth. However, it’s crucial not to over-cool the mouthguard, as this can cause it to stiffen too quickly, hindering the molding process. Proceed swiftly to the next step while the material remains pliable.
Position and Bite Down
Quickly position the softened mouthguard onto your upper teeth, ensuring it is centered for optimal coverage. Using a mirror can be helpful to ensure accurate placement. Once positioned, firmly bite down on the mouthguard, applying even pressure across all teeth to create an impression.
Simultaneously, use your fingers to press the mouthguard against the outer surfaces of your teeth and gums, further molding it to the contours of your mouth. Maintain this biting and pressing action for approximately 20-30 seconds to allow the material to conform precisely to your dental structure. Avoid excessive biting pressure, which can damage the mouthguard or cause discomfort.
Final Steps
After molding, the final steps are crucial. These steps are cooling the mouthguard completely to harden the shape and carefully checking the fit to ensure proper protection and comfort before using it in any activity.
Cool Completely
Once you’ve bitten down and molded the mouthguard to your teeth, the next crucial step is to cool it completely. This helps the material retain its newly formed shape. Submerge the mouthguard in a bowl of cold water for several minutes. Ensure the water is sufficiently cold to expedite the cooling process. Avoid letting the edges curl over during this phase. Some manufacturers may advise against cooling in cold water, so consult the instructions. Allowing the mouthguard to air dry is an alternative. This cooling process is vital for thermoplastic mouthguards, ensuring a custom fit. Once cooled, the mouthguard will be ready for a final fit check.
Check the Fit
After the mouthguard has cooled completely, it’s time to check the fit. Insert the mouthguard into your mouth and bite down firmly. Assess how comfortably it sits against your teeth and gums. The mouthguard should feel secure and not shift around excessively. Ensure that it covers all the necessary teeth for protection, without extending too far back. If the fit isn’t quite right, you might need to repeat the molding process. Remember to always follow the specific instructions that came with your mouthguard, as times may vary. A properly fitted mouthguard is essential for optimal protection during sports or other activities. Make sure it is comfortable and secure before using it.